How to scan documents using an Apple iPhone refurbished
Share
Sometimes, we need to scan a document to share it with someone else. This article will show you how to do it with your refurbished iPhones by Apple. By the way, this feature is a bit more hidden in the new iOS 18.
Step 1: Open the Notes App
Grab your phone and launch the Notes app.
Step 2: Create a New Note
Tap anywhere within your new note.

Step 3: Access the Scanning Feature
From the menu, select the Paperclip icon. Then, choose Scan Documents from the options that appear.


Step 4: Scan the Document
Your phone’s camera will activate, showing a yellow frame. Slowly move your phone closer to or farther from the document. The camera will automatically focus and scan the document.
Step 5: Save Your Scan
Once you’ve finished scanning, tap the Save button. The scanned file will be saved to your Notes app.

Need a PDF File?
If you need the scan as a PDF, tap the Share button and save the file to the Files app. It will be saved in PDF format, ready to share with anyone.

Scanning Multiple Pages
If you need to scan multiple pages into one file, place the next page within the yellow frame before tapping Save. The phone will scan the additional page and combine it with the first into a single file.
Take advantage of these tips to get the most out of your refurbished iPhone. Happy scanning!
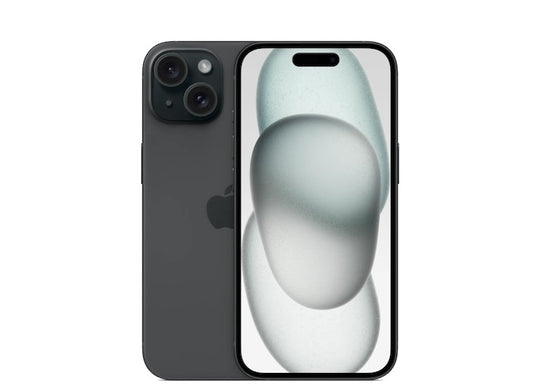
Please visit our store CostPlusPhones.com. We now have a new shipment iPhone 15 refurbished and iPhone 15 Plus refurbished models. Follow us on social media to get useful tips about iPhones.
- The CostPlusPhones Team


